
I’ve never pounded chicken out into a paillard (though I’ve seen it done on TV often enough to know that’s what it’s called, though usually with a different cooking treatment than this). So this was new for me on several levels.
Chicken Stuffed with Spinach and Cottage Cheese

Prep work is faster if you gather all of your utensils and ingredients before you start. This is what’s called “mise en place” in the culinary world.
1/2 of a 10 or 12-ounce package frozen chopped spinach, thawed and drained
dash salt
dash pepper
1/2 tsp onion powder
1/2 cup cottage cheese
2 large boneless, skinless chicken breasts
Large heavy-duty (freezer) zip-top bag
Meat tenderizer mallet
Toothpicks or bamboo skewers, cut into 3-4″ pieces
1 tbsp butter, melted
1/8 tsp garlic powder
Preheat oven to 350°F. Lightly grease a 9 x 9-inch baking dish.
In a medium bowl, combine spinach, salt, pepper, onion powder, and cottage cheese. Mix well; set aside.
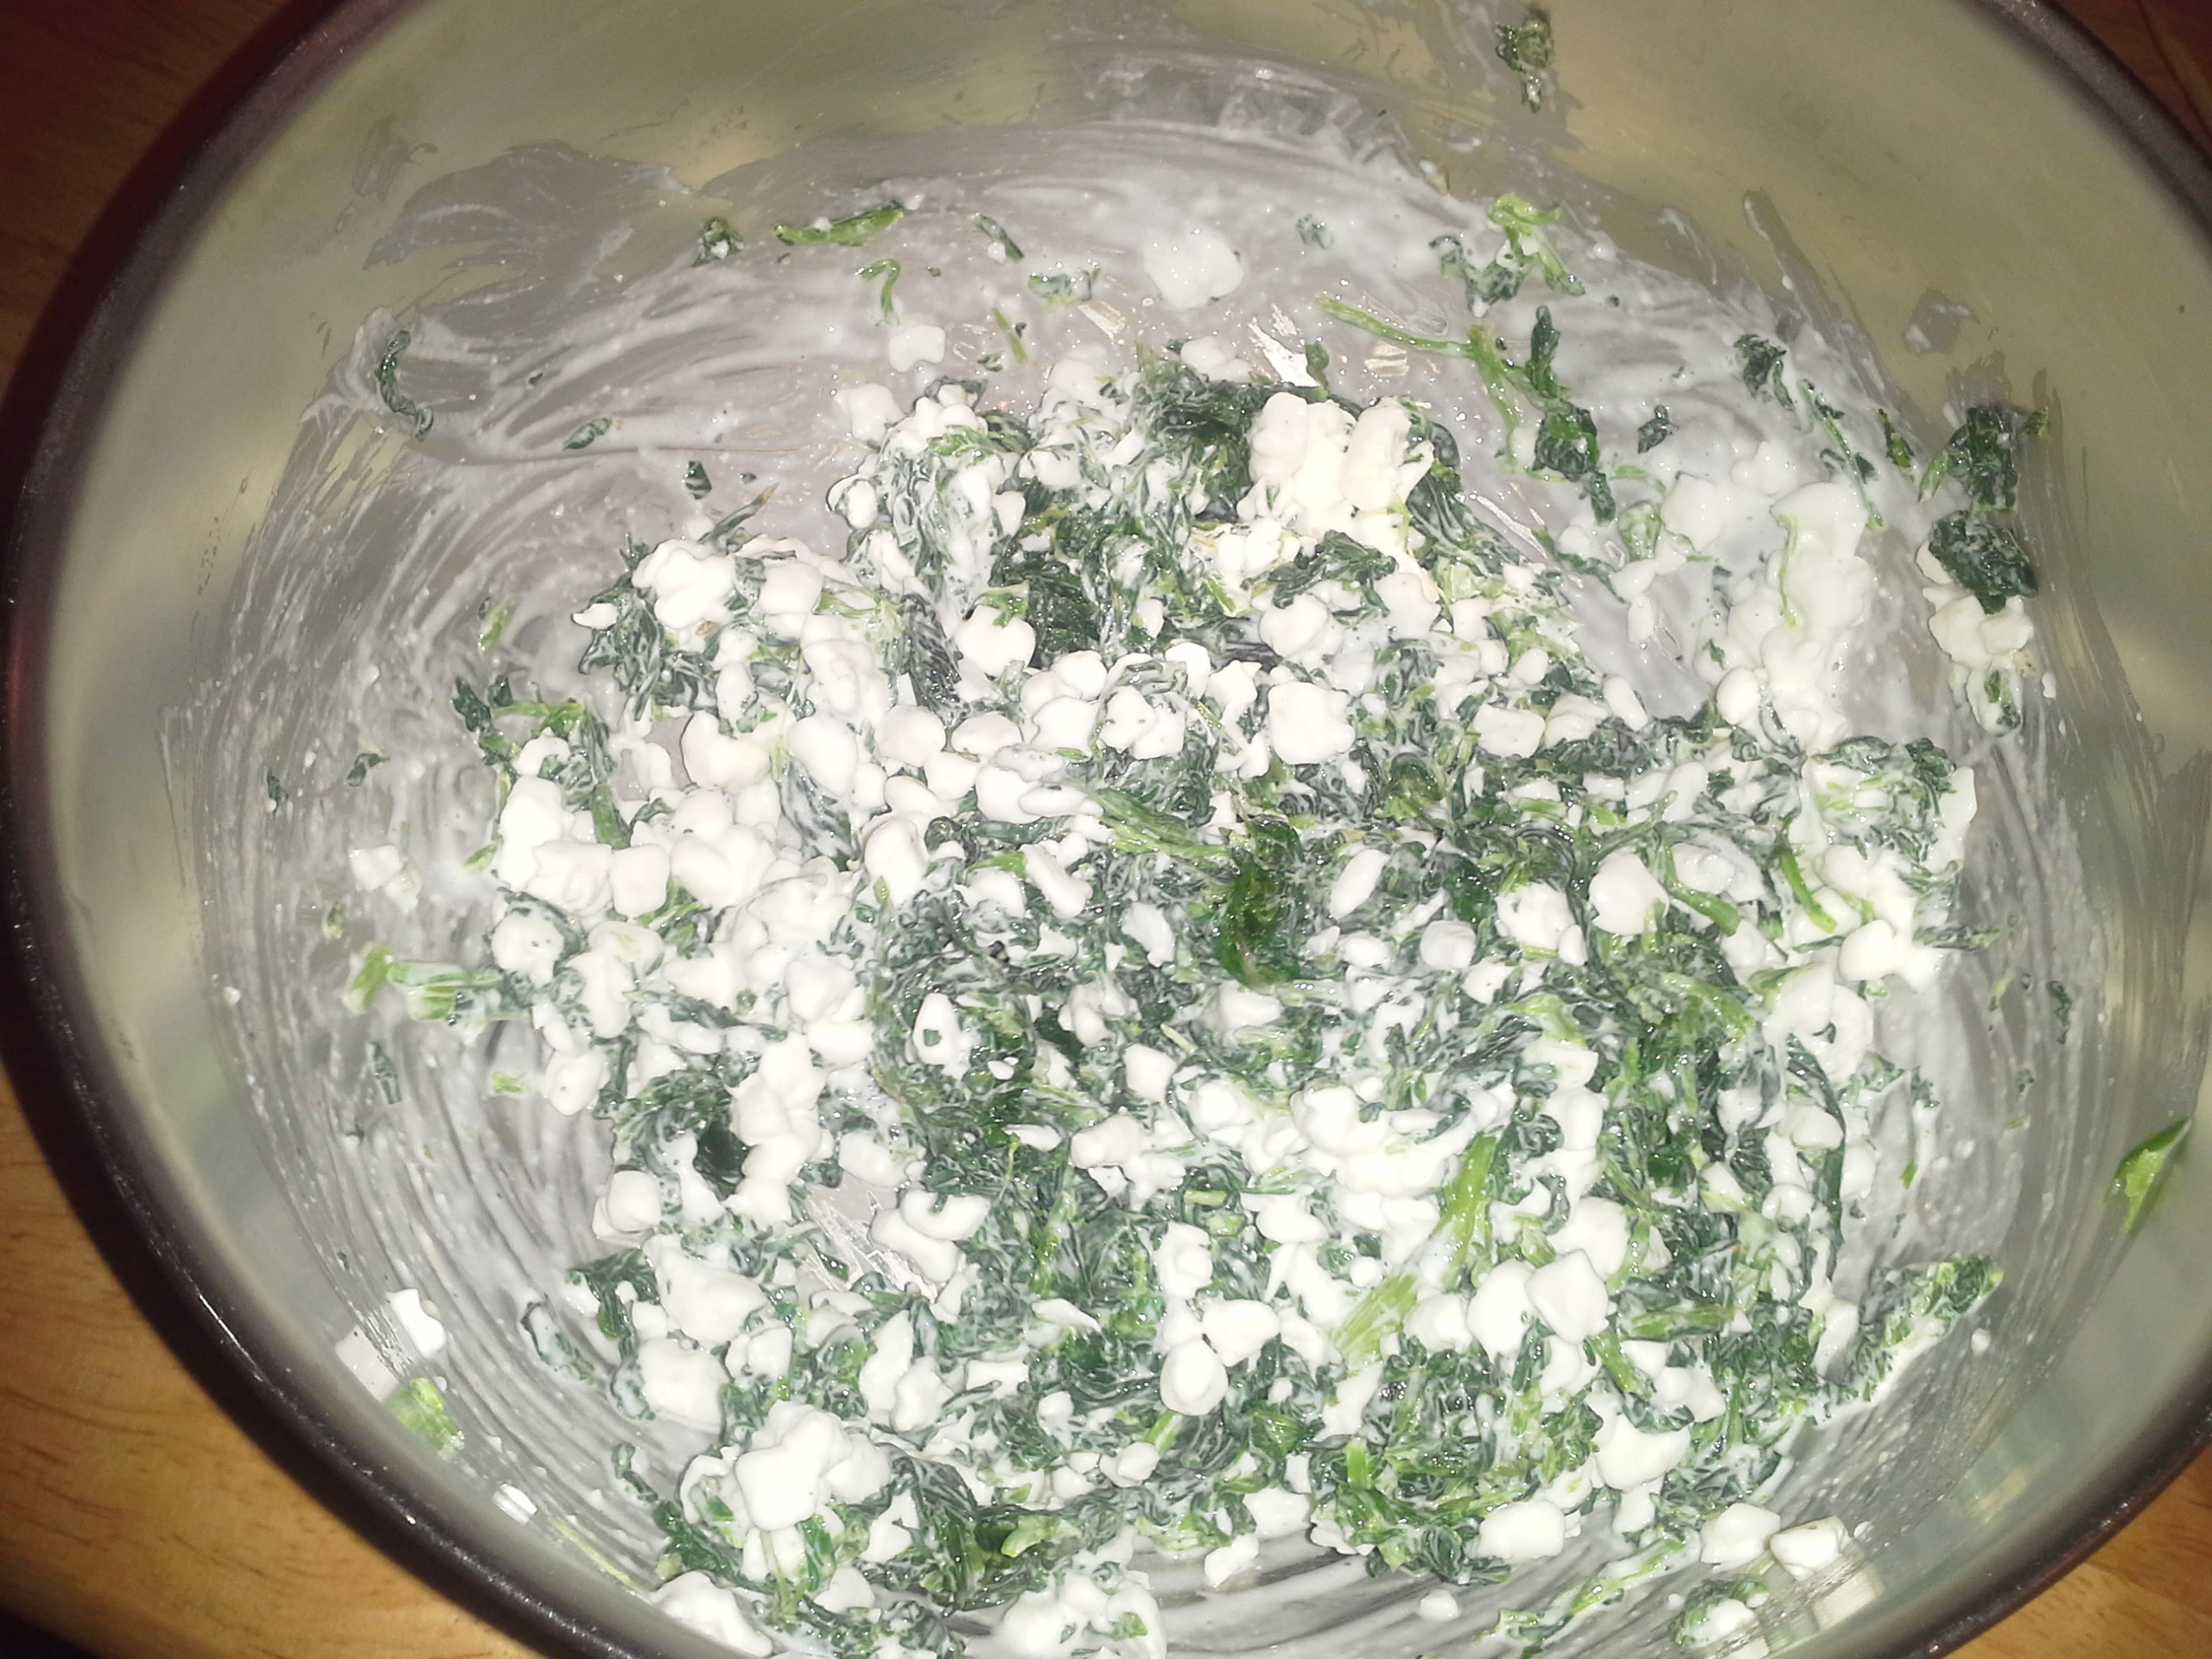
I ended up with over 1/4 cup too much filling because I used 1/2 a bag of a 12-ounce package of spinach.
Using the zip-top bag and the smooth side of the meat mallet, working with one breast at a time, pound chicken to about 1/4-inch thickness. Work from the center out and do not pound too close to the edges.
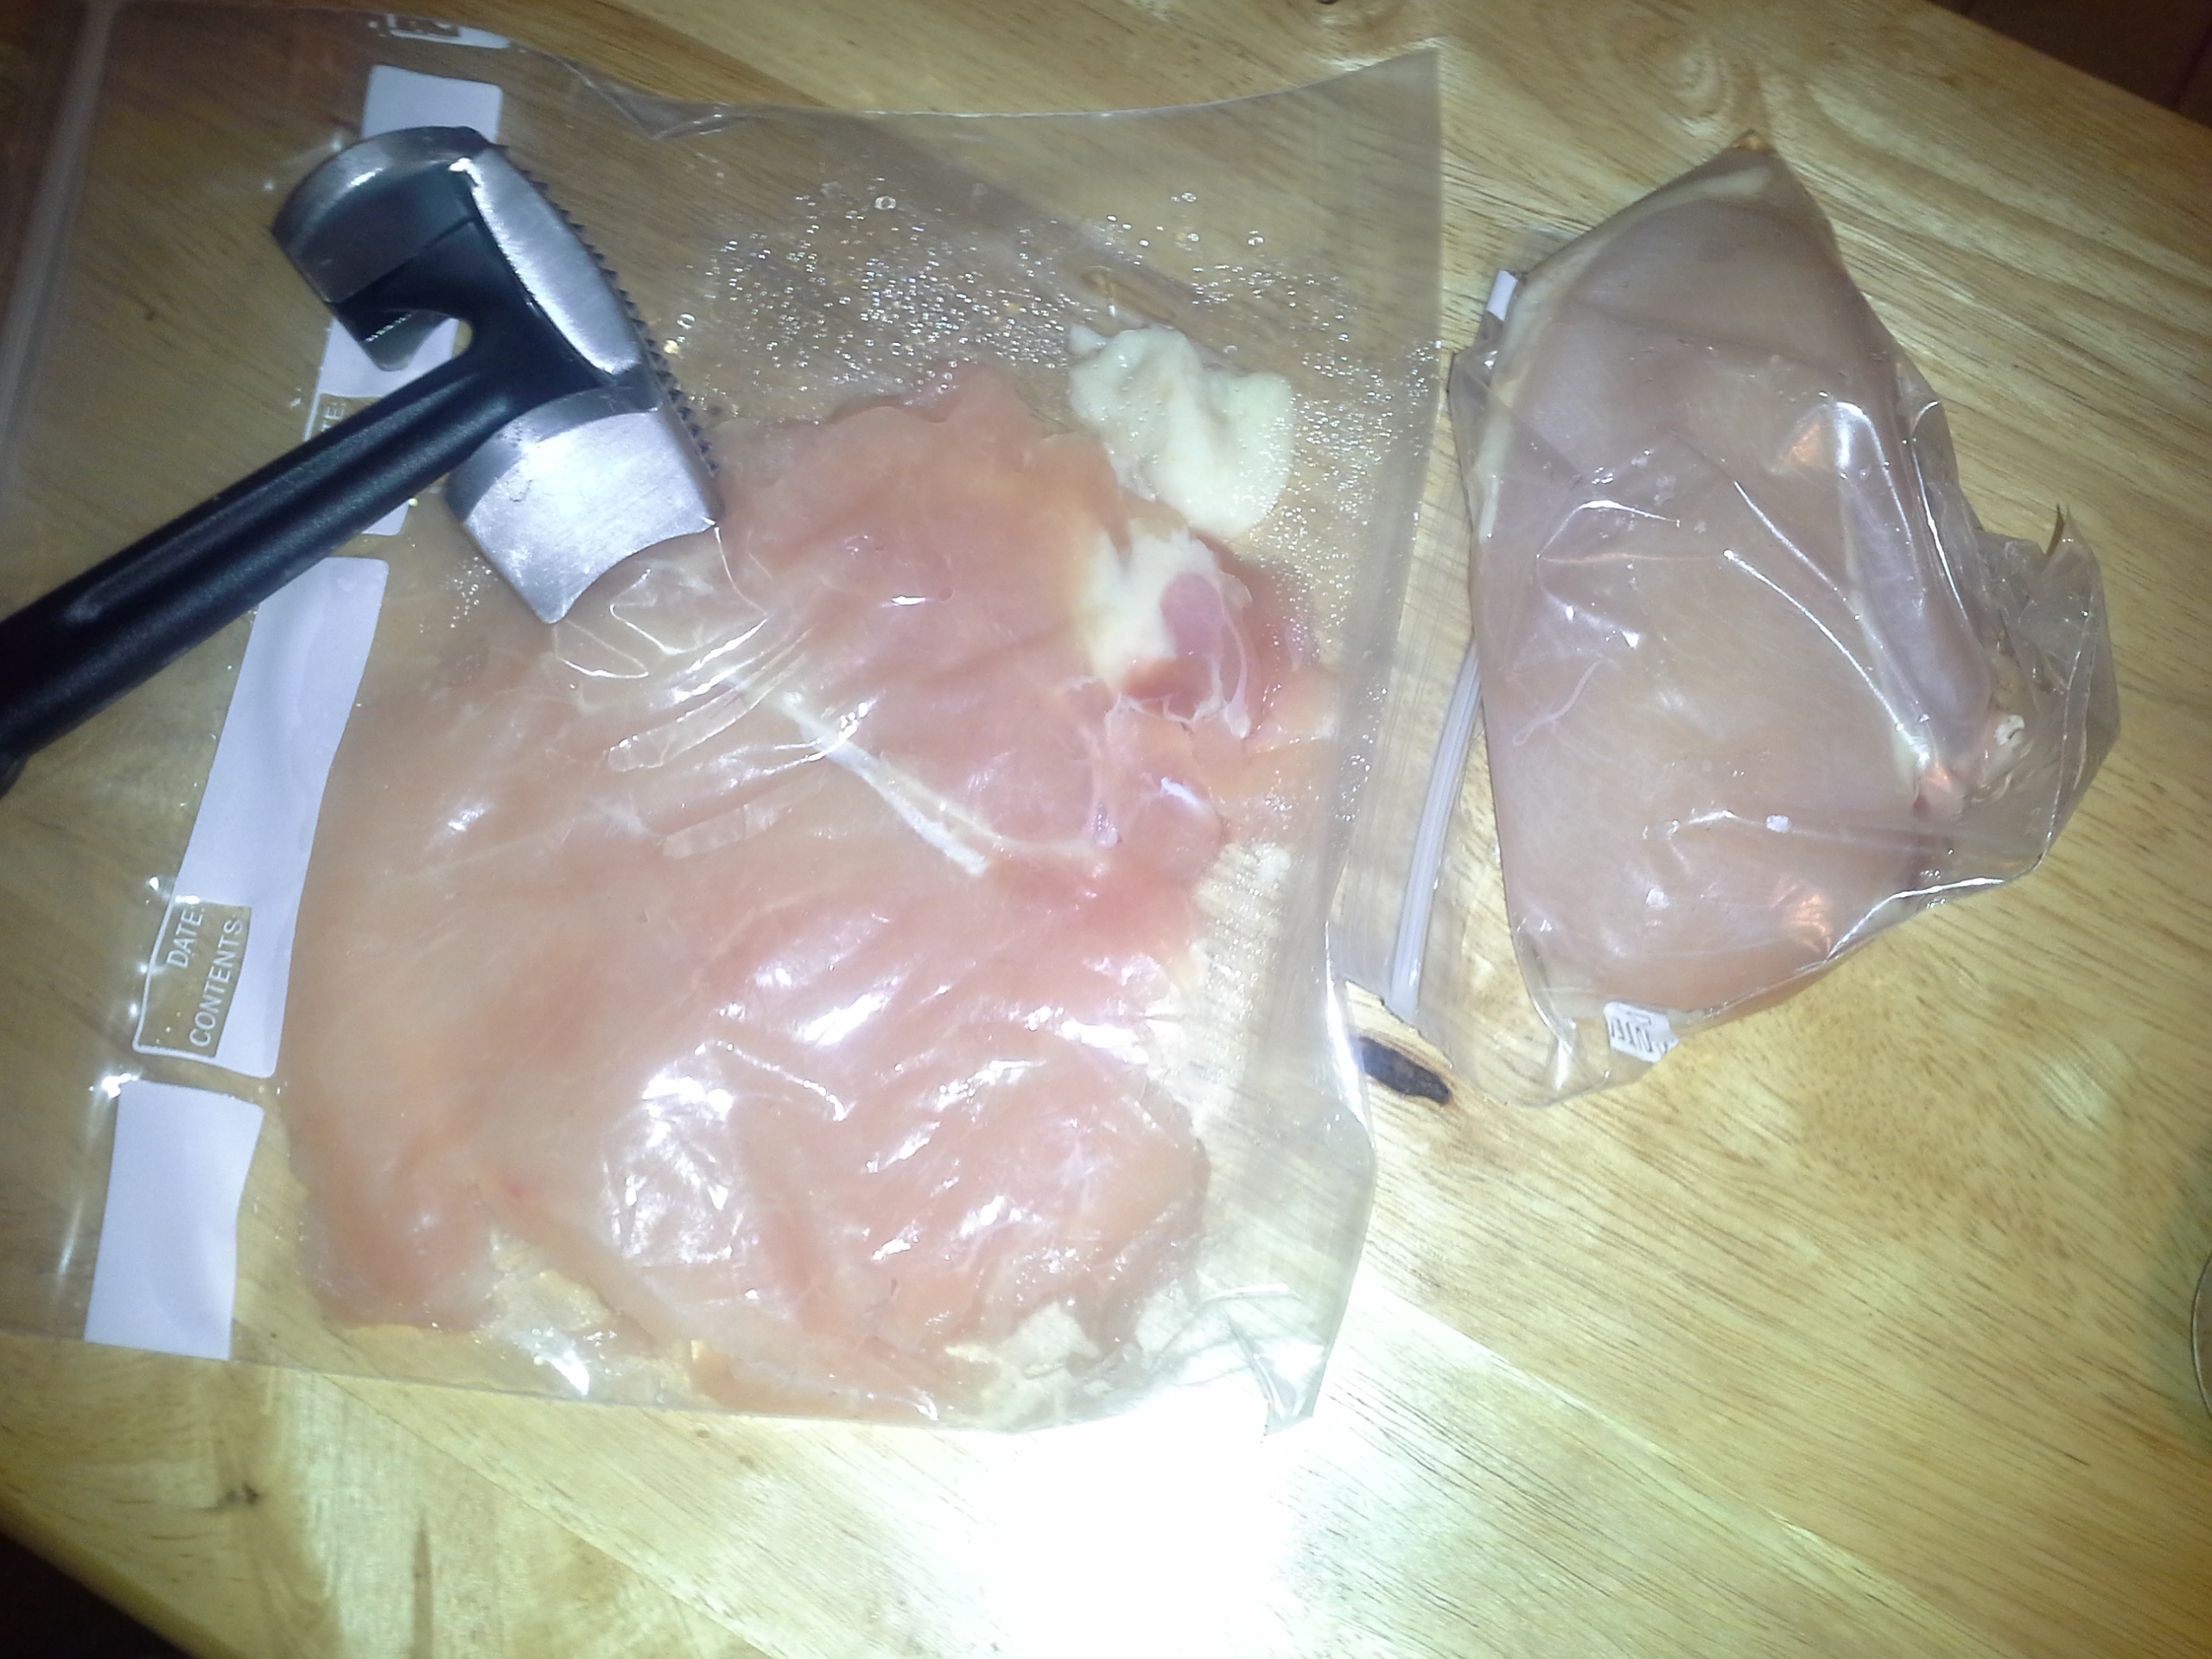
A small, heavy-bottom pan will work if you don’t have a meat mallet.
When both breasts are pounded thin, lay each out on a piece of foil or waxed paper, smooth side-down. Trim any dangling pieces. Place about half of cheese/spinach mixture in the center of each and fold in half. Because the paillards won’t be the same size, you may need to adjust the amount of filling to ensure that the meat will close securely around it.
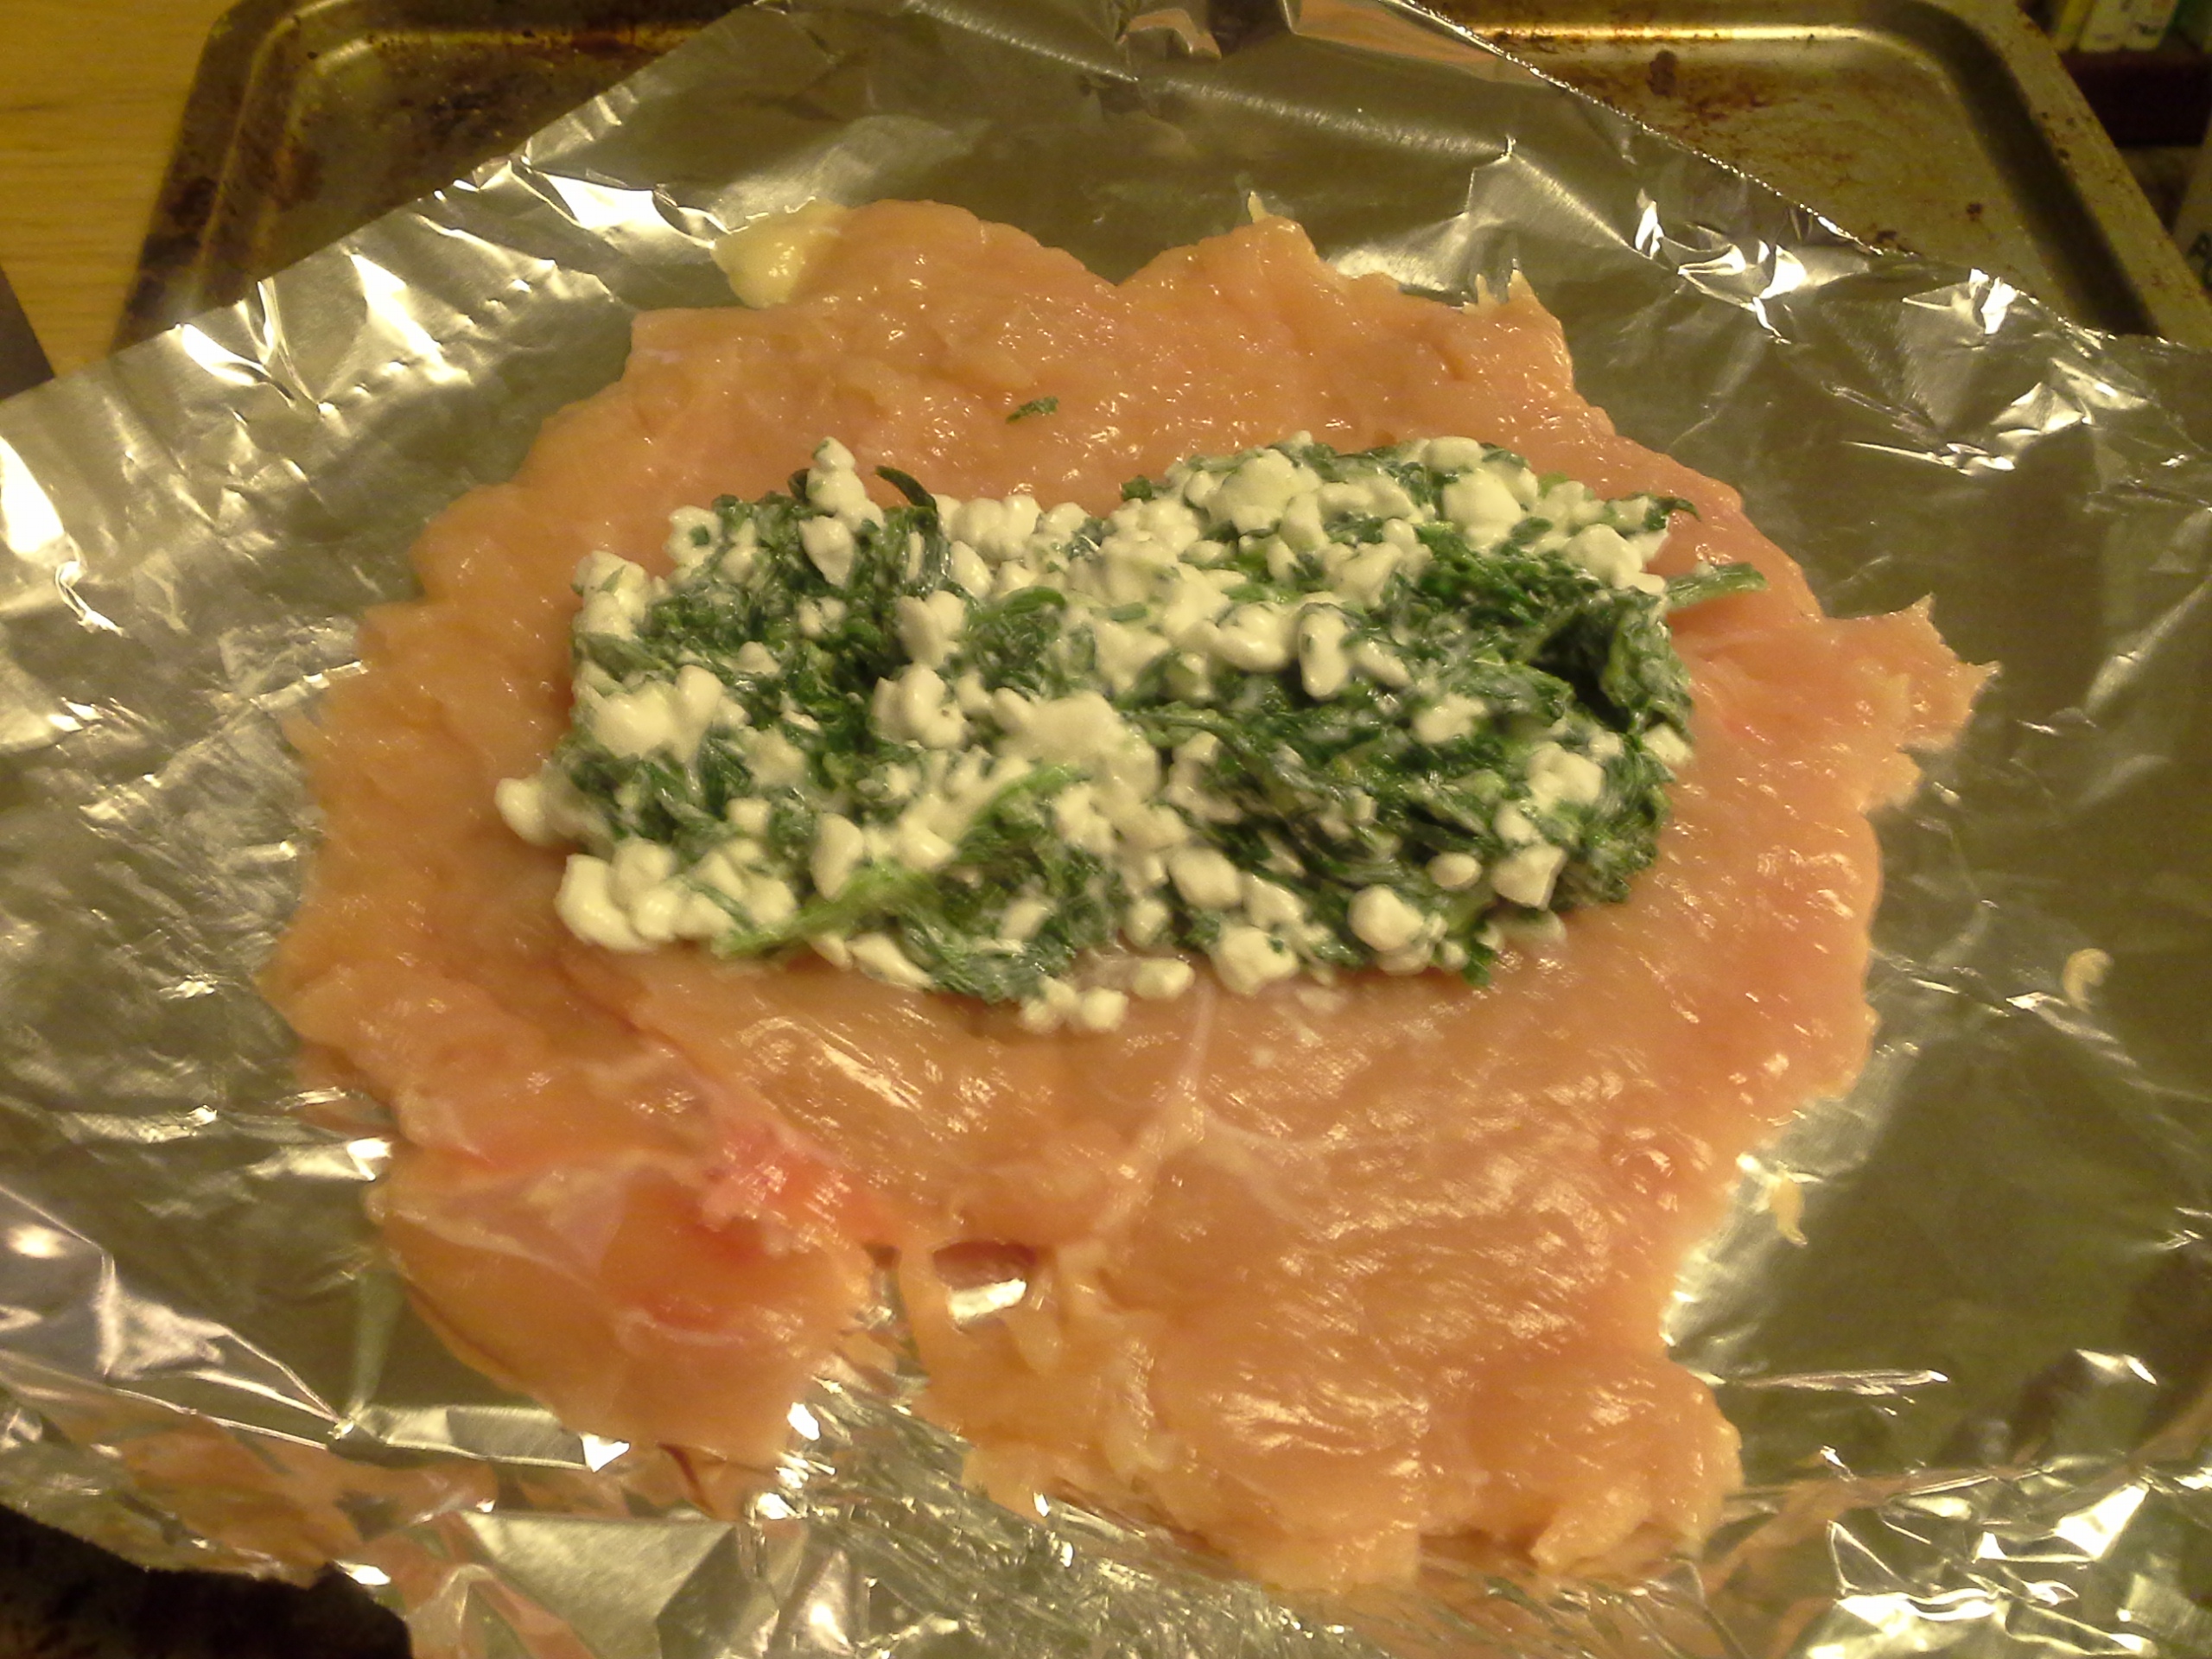
Just as with pastry-and-fruit turnovers, you don’t want your filling to ooze out, so don’t add too much or get it all the way out to the edges of the meat.
Secure edges of meat with toothpicks or skewer pieces and place in baking dish. (Don’t forget to wash your hands at this point!) Melt butter and mix with garlic powder and drizzle over chicken.
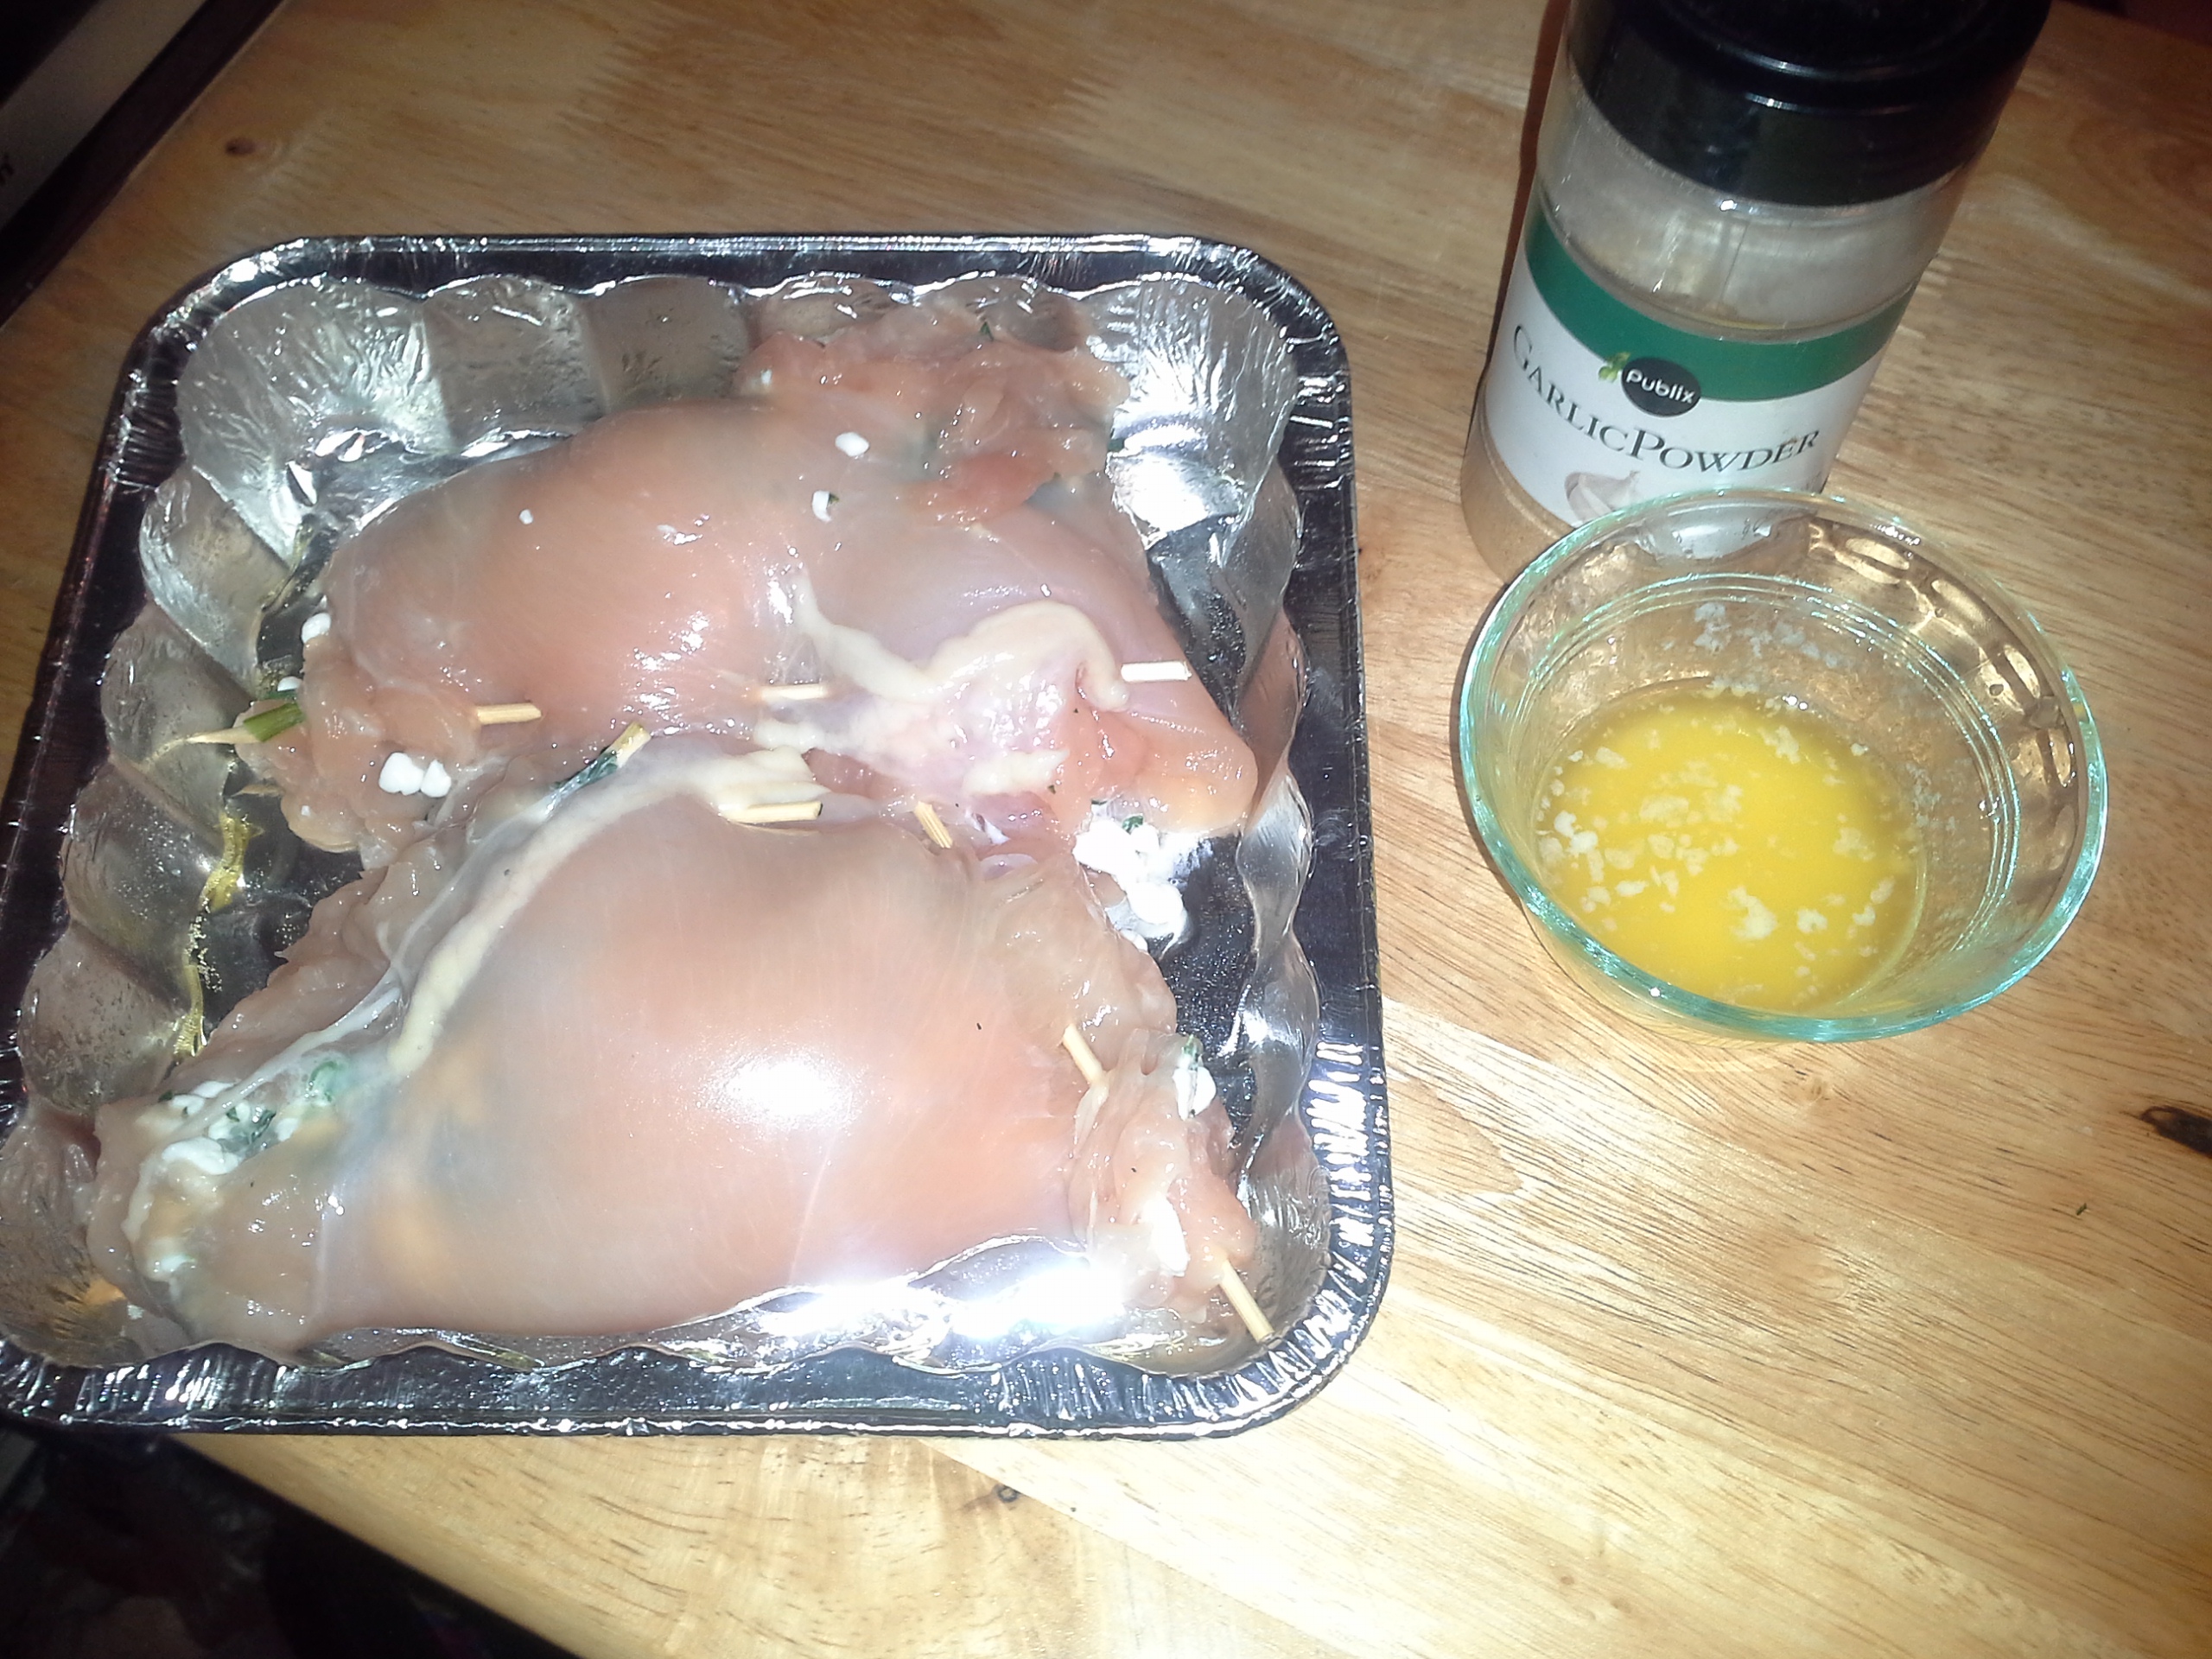
I didn’t have toothpicks, so I used skewers, cut into a few pieces, to secure the edges of the chicken. “Stitch” them through the top and bottom edges of the meat to secure.
Bake 35 minutes or until chicken is cooked through and juices run clear.
Yield: 2 servings
4 grams net carbs

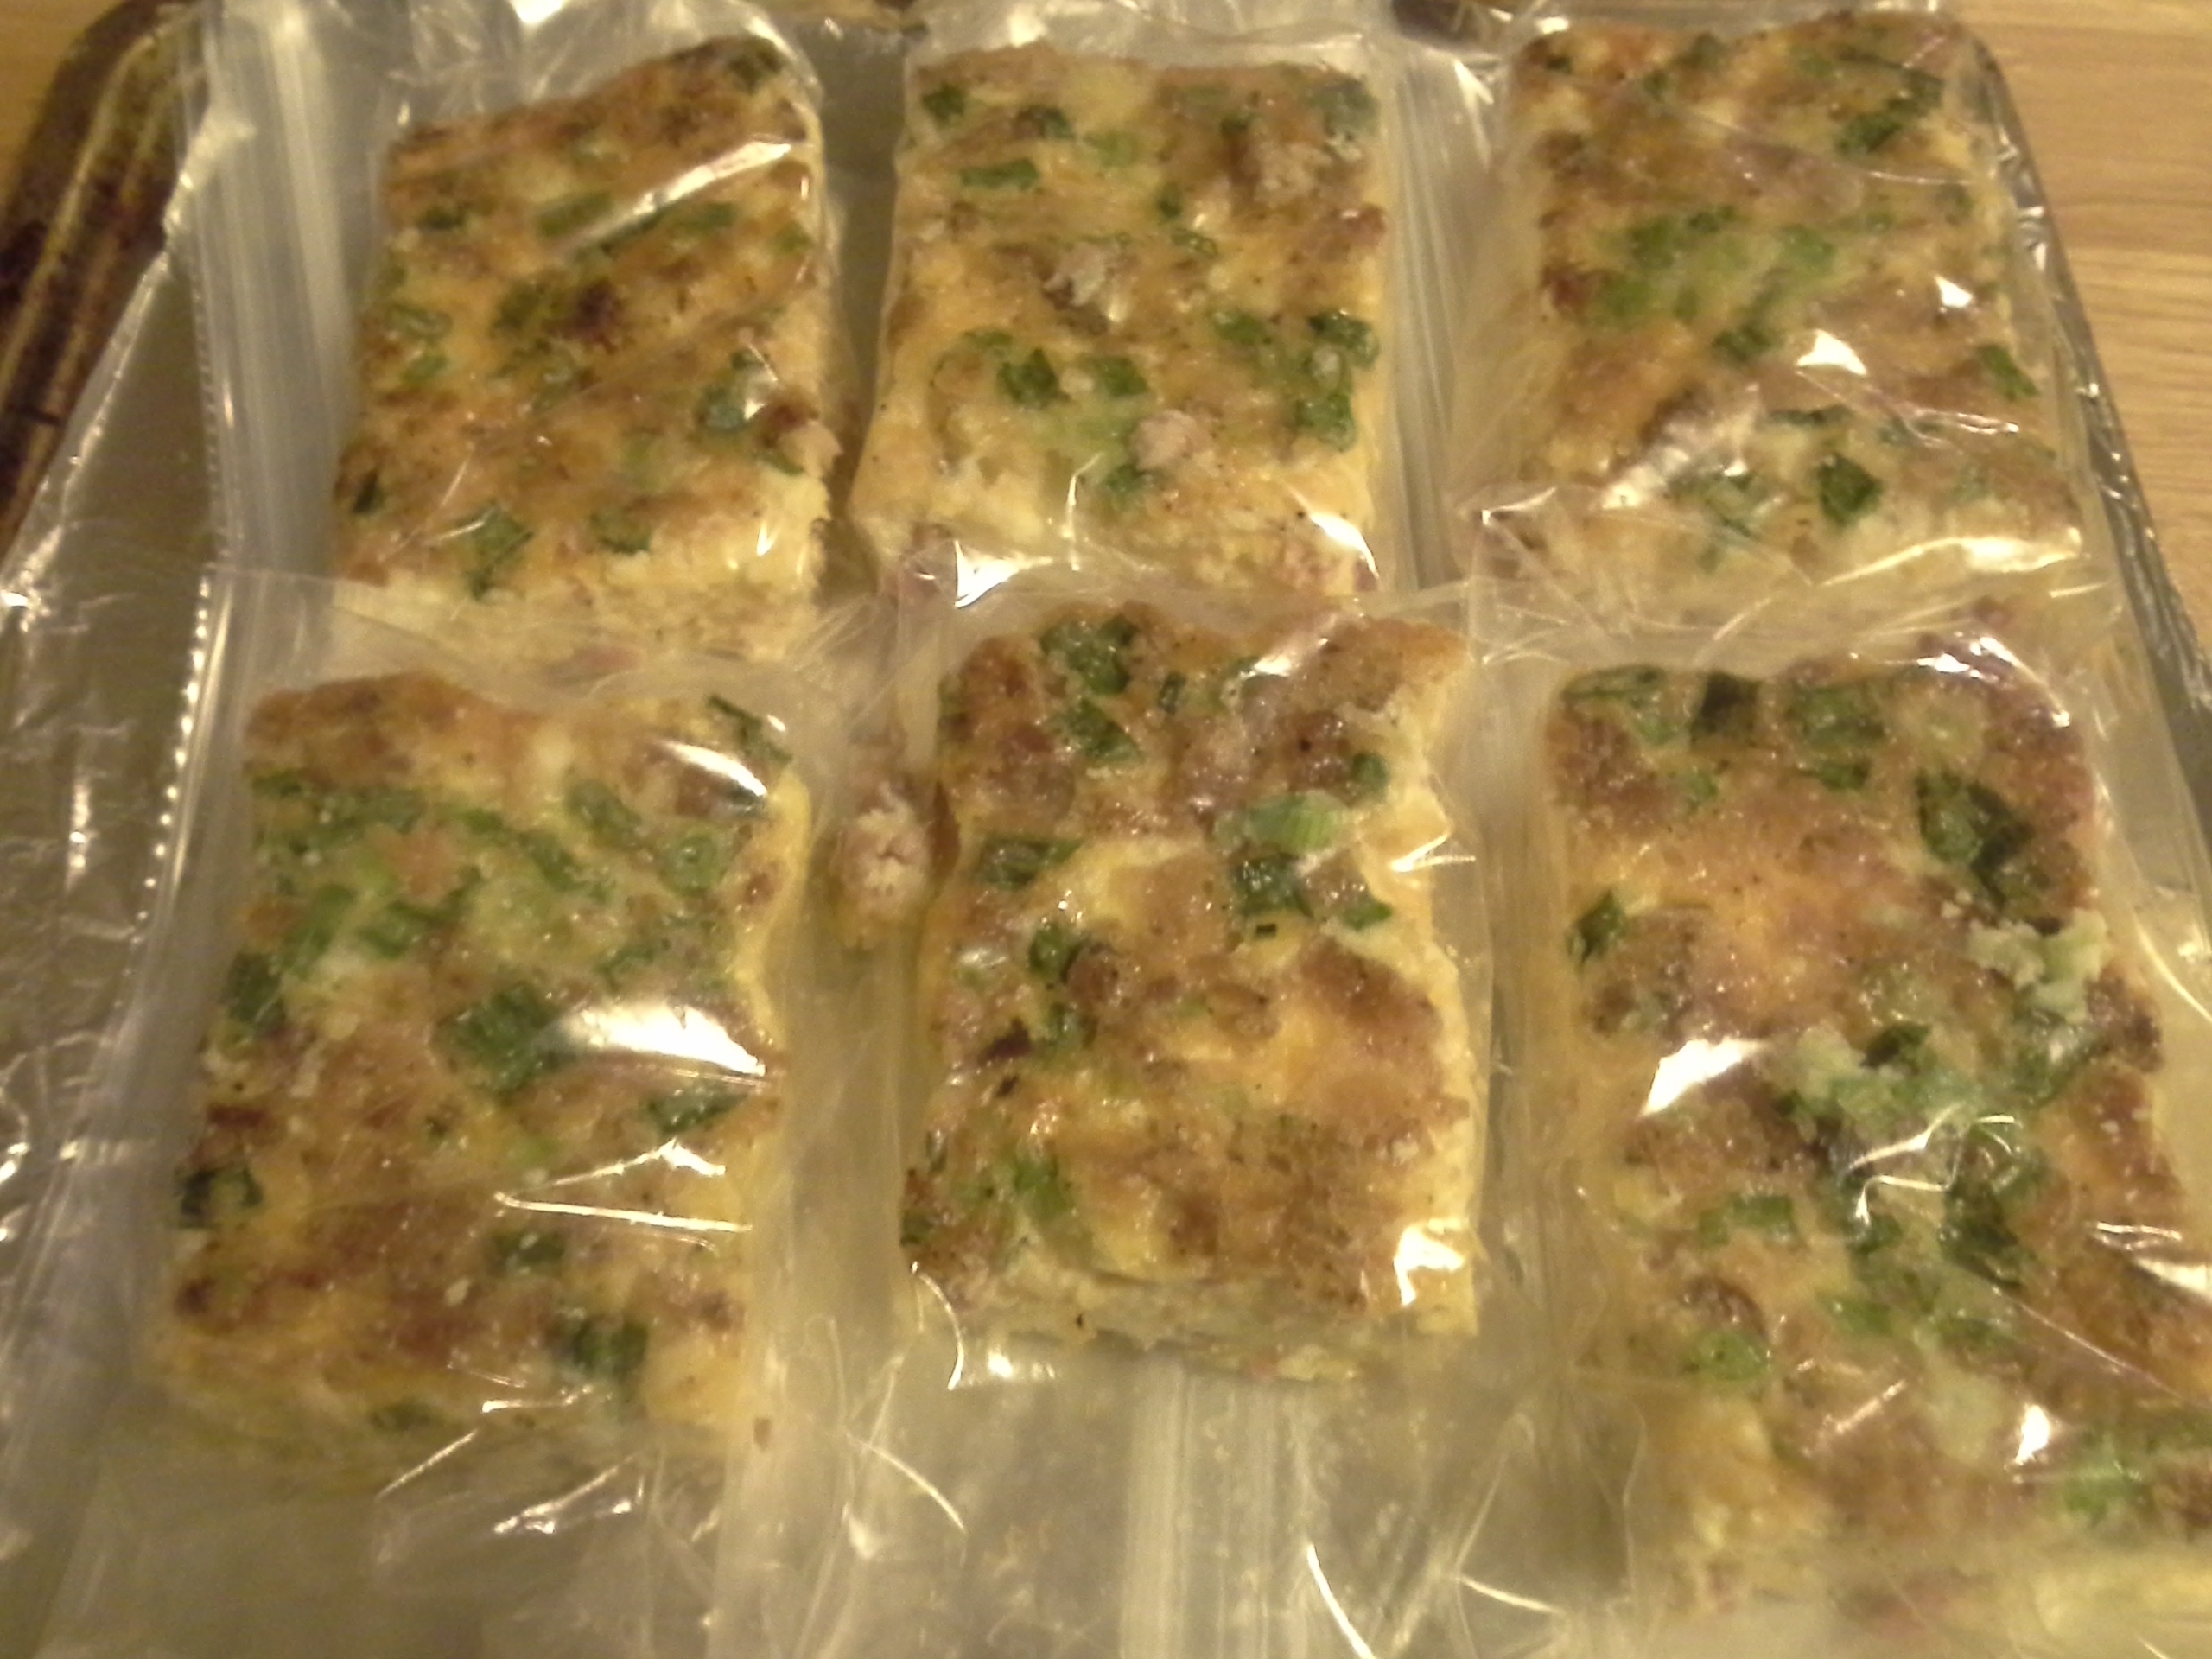
Because the chicken is skinless, it doesn’t actually brown when cooked like this. They may not look it, but these were completely cooked through. To remove the skewers before serving, carefully grab the ends and twist until they loosen enough to pull out.
________________________________________________
The prep work on this took a little longer than I typically like to take when making dinner after working all day, but it was easy. And, let’s face it, ten minutes of pounding something with a hammer is a pretty good stress release. 🙂
While these turned out the way I’m sure they were supposed to, they were very bland. Next time, I’ll probably try it with cream cheese instead of cottage cheese and add . . . something. Something that will give it more flavor. Also, the chicken should probably be lightly seasoned with salt and pepper before adding the spinach mixture.
I drizzled my chicken (and the green beans I had to go with it) with the au jus straight from the pan, but the chicken was still juicy enough that this wasn’t really necessary for anything other than the additional flavor from the butter/garlic.
Maybe if the garlic butter were spread inside the chicken before stuffing, that might add more flavor? Not sure. This one is worth experimenting with.


 Transfer meat and veggie mixture to a 3-quart casserole dish. Spoon mashed cauliflower on top. Spread to cover evenly, but leave surface of cauliflower rough (or add texture with tines of a fork). Bake 30 minutes or until cauliflower has browned nicely (golden brown). If using cheese, sprinkle cheese over top after about 20 minutes of cooking.
